
For those with acne-prone skin, the (not so) occasional breakout can sometimes feel like a colossal crisis, especially when it arises at the exact moment you want it not to. Thankfully, these party crashers aren’t invincible. Pimple patches are hailed as heroes by many for their fast-acting ability to absorb the gunk from your blemishes stat. As such, these unassuming little stickers have established themselves as a skincare necessity - but how much do you really know about them? And how do we use them correctly?
Before we get into the nitty-gritty, let’s dive into what made pimple patches pop off, so to speak.

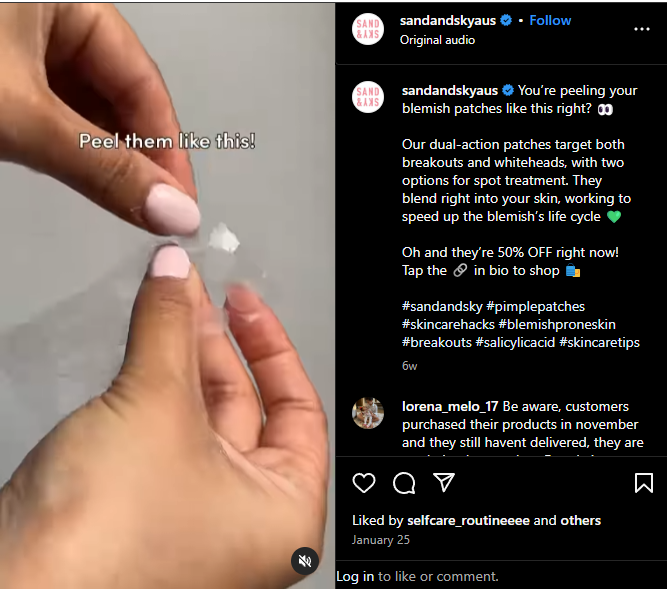
What Are Pimples Patches and How Do They Work?
Pimple patches are typically made from hydrocolloids, which were initially used to create dressings that speed up wound healing. Now made mini, these hydrocolloid patches are essential for zit-zapping routines. They cover the blemish, protecting it from dirt, bacteria, and other environmental factors while absorbing the fluids within. They work by drawing out pus and contaminants, reducing the size of the pimple while preventing further irritation and potential acne scarring from accidental picking or scratching.
Typically translucent or skin-toned, hydrocolloid patches are designed to be (relatively) undetectable. However, not all hydrocolloid patches are identical. Some are non-medicated, meaning they do not include any skincare actives. Others, like Sand & Sky’s Oil Control Dual Action Blemish Patches, feature a blend of blemish-busting ingredients to manage acne.
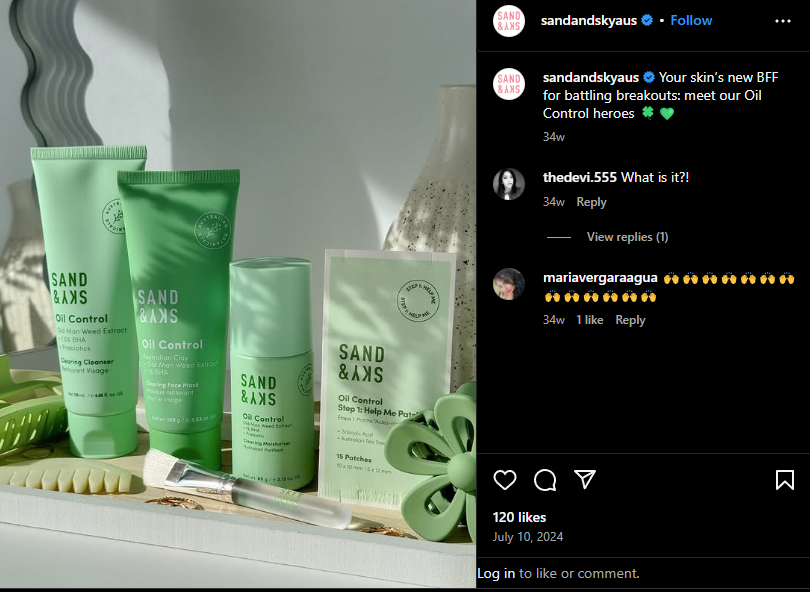
How are the Oil Control Dual Action Blemish Patches Different?
Unlike typical hydrocolloid patches, the Dual Action Blemish Patches feature a unique formula that operates in two stages: 1) It breaks down the blemish during the inflammation stage, and 2) It gently absorbs impurities and fluids while applying soothing ingredients during the pus-formation stage.

Step 1: Help Me Patches
Apply this first set of patches when your spots are red and inflamed. Containing ingredients like Australian tea tree oil and Canadian Willowherb, these stickers possess plenty of antiseptic and antimicrobial properties that prevent the spreading of bacteria. Salicylic Acid and Grape Seed Extract also exfoliate the outer layer of each blemish, accelerating the healing process.
Step 2: Bye-Bye Patches
Once your blemish starts forming pus at its head, pop on the Bye-Bye Patches to draw out the impurities. Made from waterproof hydrocolloid material, Centella Asiatica (also known as Cica) Extract, and Aloe Vera, these patches protect and soothe the skin while promoting wound healing.
Dos and Don’ts of Using Pimple Patches
While it may seem as simple as applying a pimple patch and calling it a day, these spot treatments have certain do’s and don'ts that we should follow if we want them to do their job to the fullest.
Do: Cleanse and dry your face first.
Cleansing your face first ensures that the little acne-buster works on a fresh, clean slate without any residue blocking the way.
Don’t: Apply your pimple patches after your skincare routine.
We’ve all made that mistake. To maximize your skincare routine - and prevent other products from being absorbed instead - let your pimple patch work its magic without interference. Apply it after cleansing on dry skin, then continue with the rest of your routine.
Do: Replace your pimple patches if your wound is still open.
Once one patch has done its duty, we recommend immediately covering your blemish with another patch (either the Help Me Patches or the Bye-Bye Patches, depending on your stage in the acne journey) to keep your skin protected as it heals.
Don’t: Use pimple patches on cystic acne.
Not all blemishes require patches. We recommend using them only for surface-level blemishes since they cannot penetrate deeply enough to absorb fluids from cystic acne or blackheads.
Do: Wash your hands before applying or removing pimple patches.
While it goes without saying that hygiene is vital when handling wounds, we sometimes overlook this step regarding acne. Treat your pimple carefully and wash your hands to prevent bacteria from thwarting your healing process.
What Skincare Routine to Use with Pimple Patches
Of course, staving off breakouts isn’t a one-person job. Pimple patches are excellent for helping your acne heal, but preventing blemishes requires a team effort!
That’s where the Oil Control Range comes in. A friend to oily, acne-prone skin, this collection is formulated with effective ingredients like Salicylic Acid and Niacinamide, which do the most for exfoliating deeper into the skin, regulating oil production, and preventing acne scarring.
This lineup also includes natural prebiotics from chicory root, which help maintain your skin’s microbiome balance. Additionally, it features other natural ingredients such as Australian Old Man Weed, known for its super-soothing properties, and Australian Finger Lime Extract, an AHA that promotes a smoother, brighter complexion.
We recommend starting your skincare routine with the Oil Control Clearing Cleanser: a gentle, pH-balancing formula that soothes inflammation and redness while removing makeup, oil, and impurities.
Then, on dry skin, apply the Oil Control Clearing Face Mask to decongest and purify blocked pores. Leave the mask on for 5 to 10 minutes, then gently rinse it off with warm water. Finally, rehydrate your skin with the Oil Control Clearing Moisturiser to enhance your skin’s defences and strengthen your skin barrier.
Pro tip: If you want to add an exfoliating toner to the mix, you can’t go wrong with the Marshmallow Toner. With marshmallow root extract to promote skin health, ACB fruit extract for natural AHAs, niacinamide to prevent skin damage, and glycolic acid to break down dead skin cells, this toner could be the perfect way to round out your acne routine.


